Whether it’s due to a plumbing mishap, flooding, or even a leak in your crawl space that went unnoticed for months, water damage to your hardwood floors can be quite harmful.
For starters, this type of damage can affect your home’s value. Water damage can also cause other issues, like mold growth and bad air quality, which can lead to health issues like worsened asthma, allergies, symptoms of cold, and chronic fatigue.
This is why it’s so important that, if you’ve got water-damaged hardwood floors, you first figure out what caused the damage, mitigate the moisture source, and then proceed with restoring your flooring.
In this comprehensive guide, we will walk you through the process of repairing water damaged hardwood floors step by step. From assessing the damage to applying the right treatments, we’ll cover everything.
So, let’s get right into it!
How to Repair Water Damaged Hardwood Floors
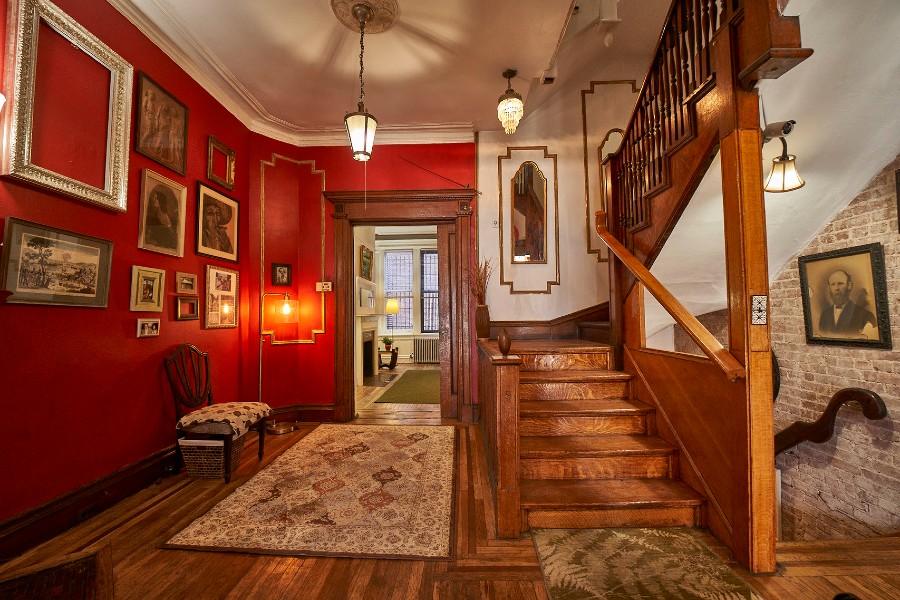
Hardwood floors are known for their durability and timeless beauty. However, when exposed to water, they can warp, buckle, or become discolored. Here’s how to repair water damaged hardwood floors effectively:
1. Assess the Extent of Damage
Before taking any action, assess how extensive the damage is. Is it a small, isolated area, or has a larger section been affected? Understanding the scope of the problem will help you determine the appropriate course of action.
If the damage is extensive, your best bet is to call a water restoration company to assist you with your situation. You may not be able to fix everything on your own, which is totally okay. Call a company like Precise Water Damage Restoration of Reno to provide you with the assistance you need.
But if you’re still determined to go with the DIY route, follow the next steps.
2. Identify the Source of Moisture
To prevent further damage, you need to identify and address the source of moisture. Ensure that the water leak or spill has been resolved before proceeding with the repairs.
This is the most important step. If you don’t properly address the root cause of the problem, the water that caused the damage will keep coming back.
Potential causes of water damage are numerous:
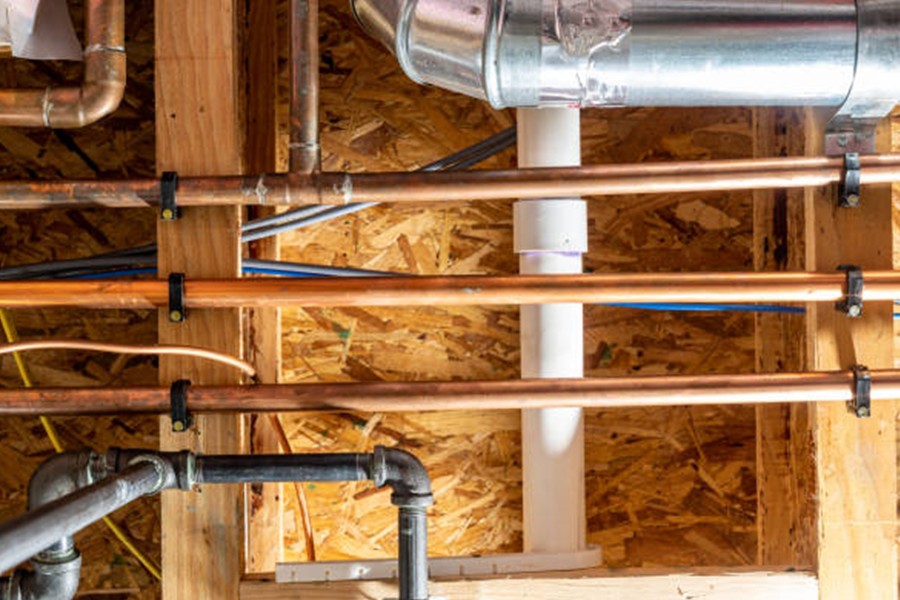
- Leaking pipe
- Flooded basement or crawl space
- Leaking roof or ceiling
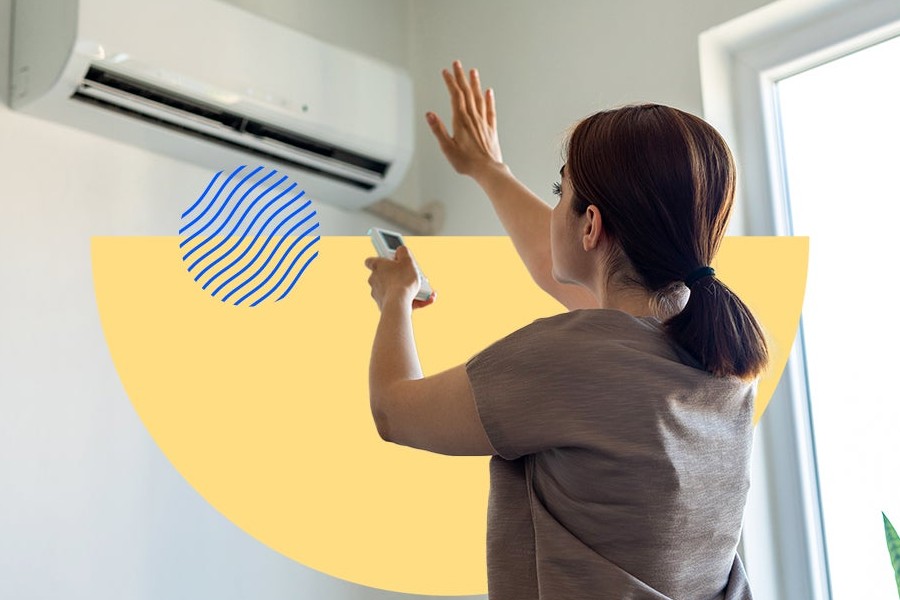
- Malfunctioning appliances or an AC system that started leaking
- Toilet or sewage backup
Sometimes, the source of the water is obvious, but at other times, it might not be. Just focus on getting this step done right before proceeding with fixing your flooring.
3. Remove Damaged Planks
In cases of severe damage, you may need to remove the damaged hardwood planks. Use a circular saw to carefully cut along the damaged seams and remove the affected boards.
4. Allow for Proper Ventilation
Proper ventilation is crucial to drying out the subfloor and the underside of the hardwood planks. Use fans and dehumidifiers to expedite the drying process.
You should use both since they have slightly different use cases.
Fans are used for targeting specific damp areas in a room, while a dehumidifier is used for bringing the humidity levels of an entire area down, like in a room or multiple rooms.
5. Sand the Surface
Once the wood is dry, sand the surface to remove any remaining stains or imperfections. Start with a coarse grit sandpaper and gradually move to finer grits for a smooth finish.
6. Apply Wood Filler
If there are any gaps or cracks in the wood, apply a wood filler that matches the color of your hardwood. This will ensure a seamless appearance.
7. Sand Again
After the wood filler has dried, sand the repaired area once more to achieve a uniform and smooth surface.
8. Stain and Finish
To match the repaired section with the rest of the floor, apply a stain that closely matches the existing color. Finish with a protective sealant to ensure durability.
9. Regular Maintenance
To prevent future water damage, consider using rugs or mats in high-risk areas, promptly cleaning up spills, and ensuring your home’s humidity levels are within the recommended range for hardwood floors.
What’s the recommended humidity range?
Most experts agree that humidity levels in the home should range between 40% and 60%. Anything lower will cause issues, just as anything higher will cause them too.
Your optimal level may be on the upper or lower end of that range, depending on where you live and how prone your home is to humidity problems.
FAQs
Can I repair water damaged hardwood floors myself?
Yes, minor damage can often be repaired by homeowners. However, for extensive damage, it’s advisable to seek professional help.
How long does it take to repair water damaged hardwood floors?
The time required depends on the extent of the damage. Minor repairs may take a few days, while major restorations can take several weeks.
Do I need to replace the entire floor if it’s severely damaged?
Not necessarily. You can often replace only the damaged sections, especially if you have extra matching hardwood planks available.
What should I do if my hardwood floors are buckling?
Buckling is a sign of severe water damage. It’s essential to address the issue promptly by removing and replacing the affected planks.
Can I prevent water damage to my hardwood floors?
Regular maintenance, including sealing and proper humidity control, can significantly reduce the risk of water damage.
Should I contact insurance if my hardwood floors are water damaged?
Yes, if the damage is substantial, contacting your homeowner’s insurance provider is advisable to assess your coverage options.
Just note that whether or not the insurance covers your losses will depend on the cause of the water damage. If the situation could have been prevented with proper maintenance or your pipes or other devices that leaked, you’ll likely not get coverage.
However, if the leak was caused by an accident, you’ll quite possibly get the coverage you need to cover water damage repair costs.
Conclusion
Repairing water damaged hardwood floors is a task that requires patience and attention to detail. By following the steps outlined in this guide, you can restore the elegance and functionality of your hardwood flooring. Remember, addressing the issue promptly and effectively is key to preserving the beauty and value of your home.
That’s about it! Hopefully, this article was helpful enough for you to go out there and take the necessary action. If you’ve got any more questions, make sure to leave a comment, and we’ll get back to you ASAP.
Have a great rest of your day!
Photo credit: Source. This content is part of the HWM Partnership.

- How To Choose The Right Corporate Travel Management Provider For Your Business?
- How Having A Dog Can Enhance Your Overall Mental Health
- 10 Tips To Maximize Your Air Conditioner’s Efficiency
- New Gear For Fall On The Rise For You And Your Harlem Home
- NYIC Launches ‘New York Proud’ Public Art Campaign Celebrating Immigrant Stories Across NYC
Become a Harlem Insider!
By submitting this form, you are consenting to receive marketing emails from: Harlem World Magazine, 2521 1/2 west 42nd street, Los Angeles, CA, 90008, https://www.harlemworldmagazine.com. You can revoke your consent to receive emails at any time by using the SafeUnsubscribe® link, found at the bottom of every email. Emails are serviced by Constant Contact